

1. Filters.
It is possible to take long exposures without any filters - crank up the f-stop value, keep the ISO low, and adjust the shutter speed to the camera’s light meter.
The obvious limitations of this method is that you are relying on having fairly low atmospheric light, which can be to the detriment of the image. Also, using a high aperture means that you will have lower quality images, as the light diffracts through the opening in the lens and blurs the detail in the photo.
Good filters help you achieve slower shutter speeds as and when you please. The type of filter you’ll need for a long exposure effect is called a ‘Neutral Density (N.D.)’ filter. This means that the filter is dark glass which reduces intensity of all wavelengths of light equally- like un-tinted sunglasses for your camera. The measure of how much they darken the light is in ‘stops’, and the higher the stops the more light is attenuated.
Currently, I use a Lee 100mm Filter system and a 2 stop graduated filter, a 2 stop N.D., and a 10 stop N.D. for crazy long exposure times.
This was certainly an investment, as most things are in photography. The total cost of the filters and holder system is appx. £400, but I started off with a cheap £20 set from Amazon. They weren’t great but they let me experiment and figure out which were the useful ones, and the ones I needed to buy from a high quality manufacturer.
The difference is certainly noticeable. The cheap set was all made out of plastic, which distorted the images and messed with the light coming into the camera. An expensive N.D. filter will have negligible colour tint, until you go up to 10 stop or above, where it will be a very slight blue cast. As they are glass, there is virtually no distortion to the images.

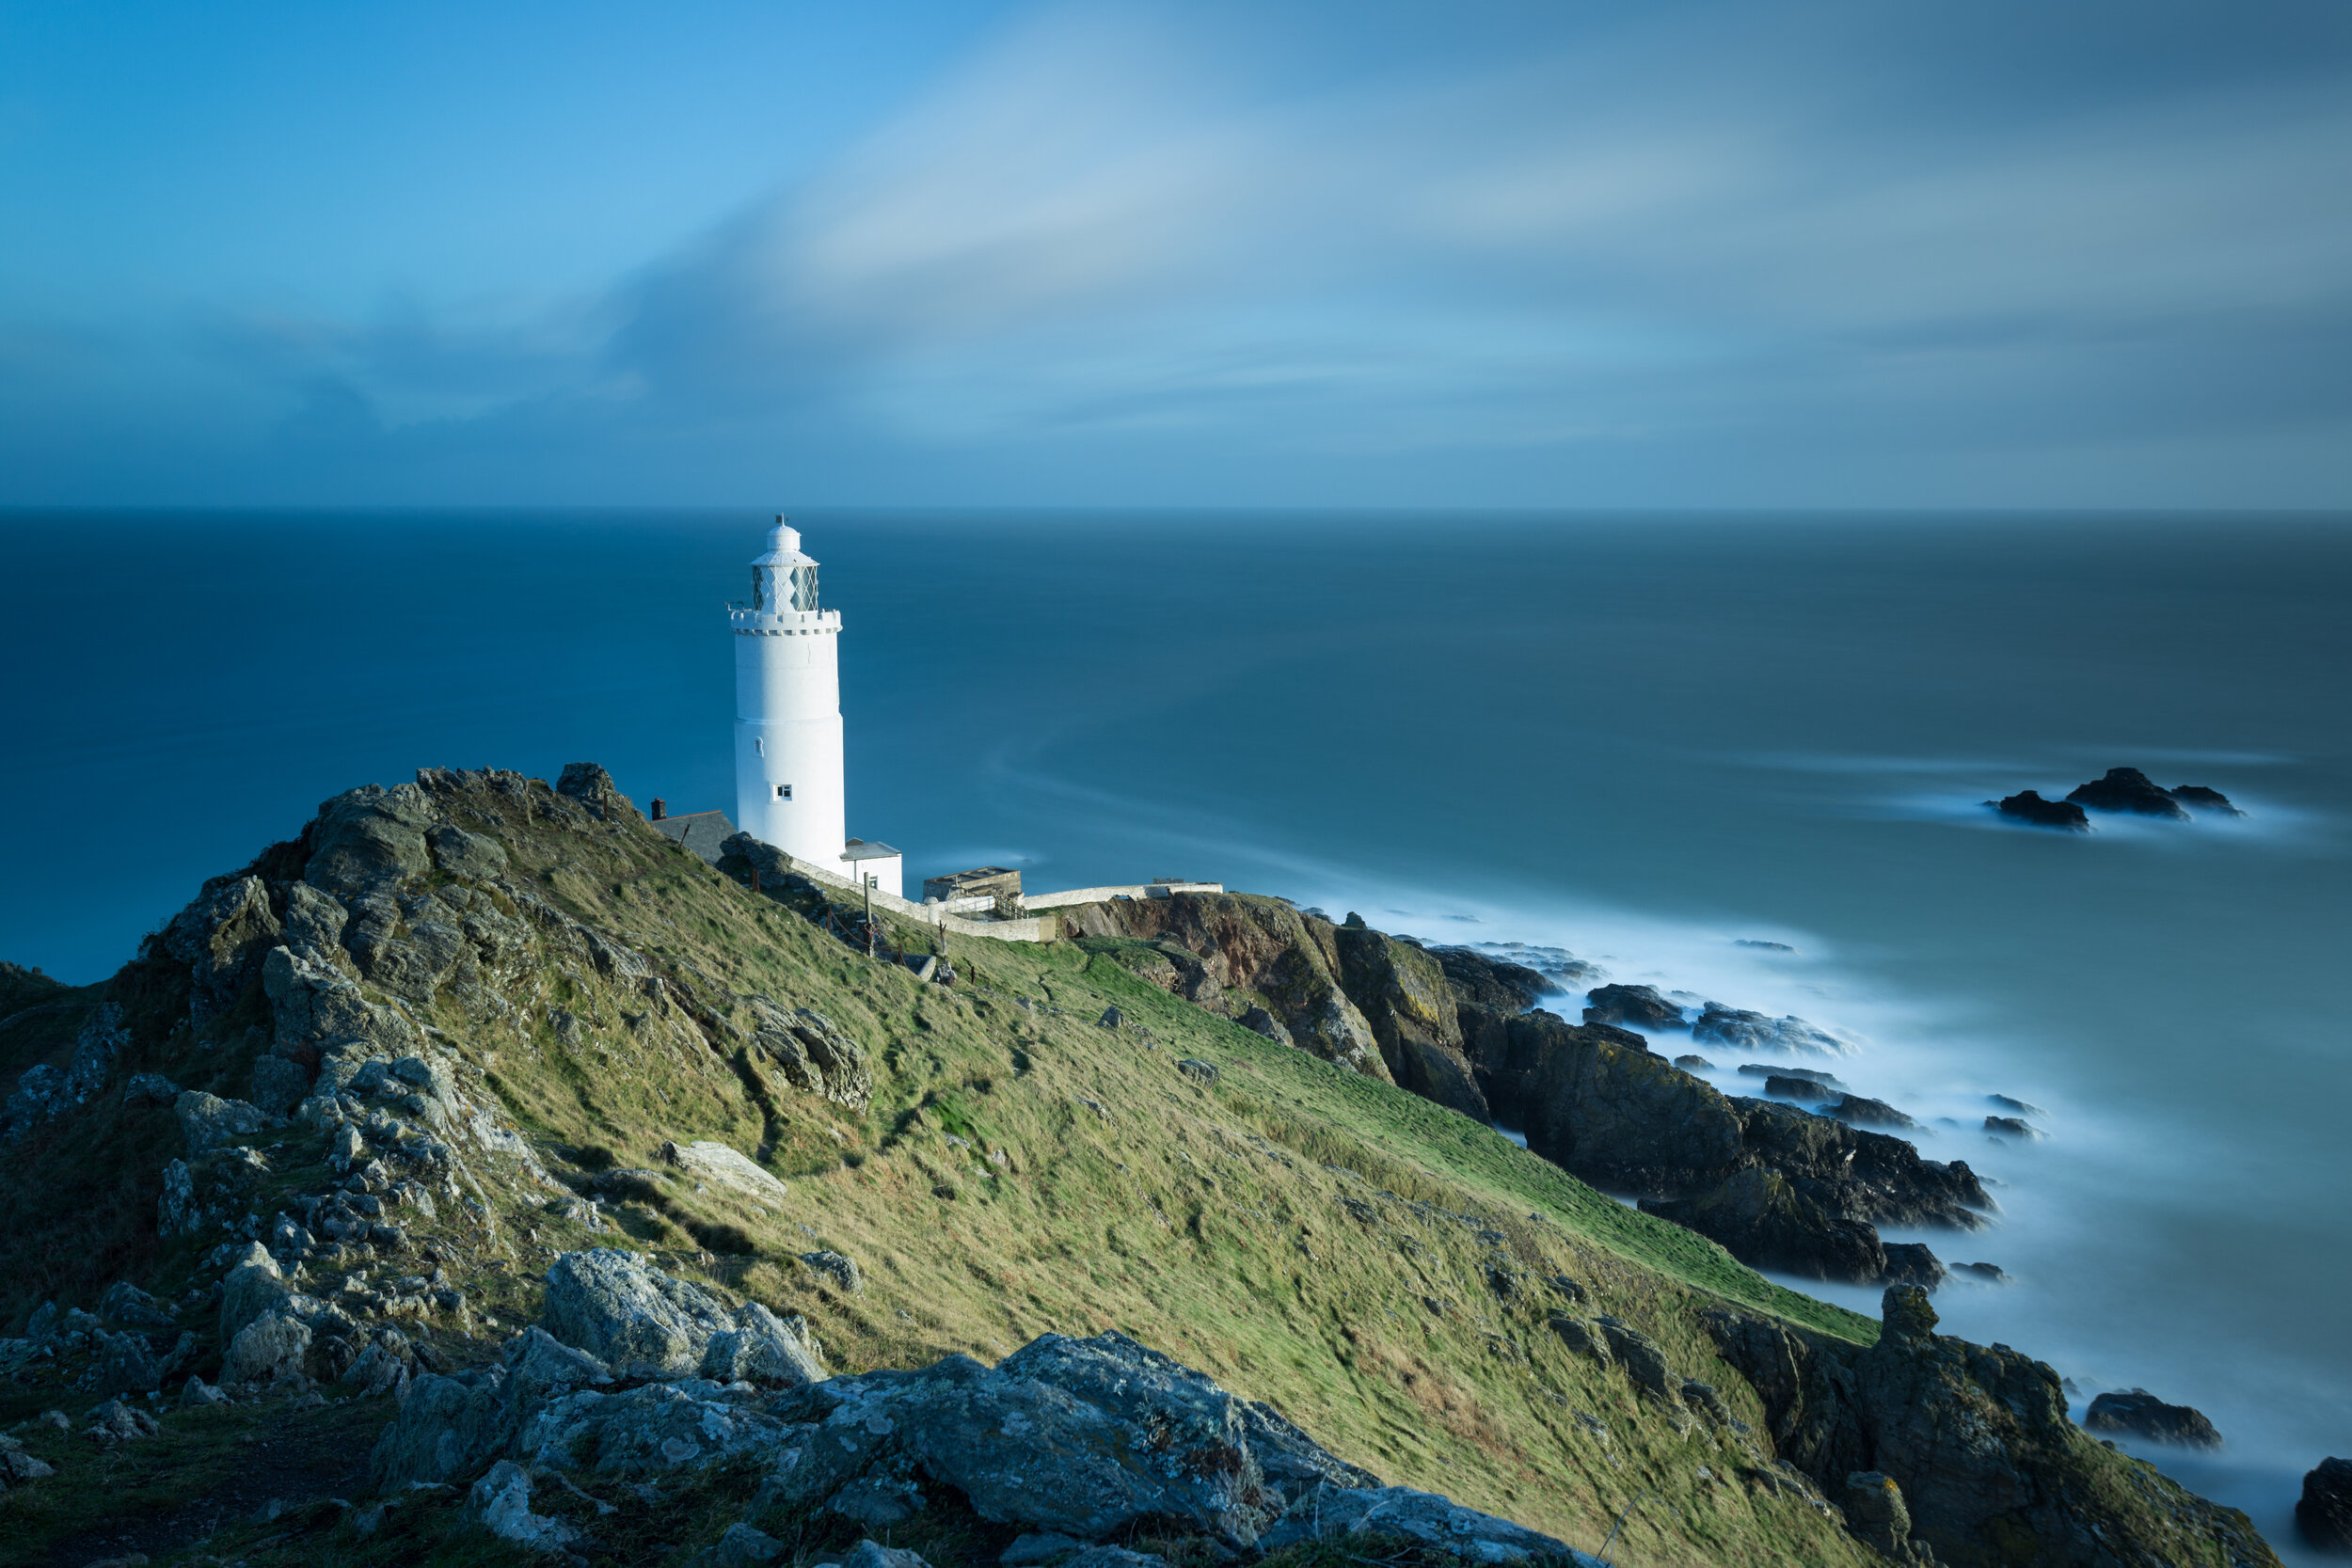
2. Wait for the light.
A well timed long exposure can really soak in good light. It can amplify colour and contrast, and make your image really stand out. Waiting for good light is always worth it- the images below were taken within 10 minutes of each other.
Bad light :-(
Great light :-D

3.Use a polarising filter.
Even outside of long exposures, Polarising filters are insanely important. Reflected light is something you cannot fix on your editing software, so you have to get it right in the field. Lots of the time a long exposure will be of water, and eliminating unnecessary reflections makes a massive difference to the final image, as shown below:
No Polarising filter.
Polarised.
Using a polarising filter can remove distractions, or allow details in things like wet rocks, which would otherwise be blown out.
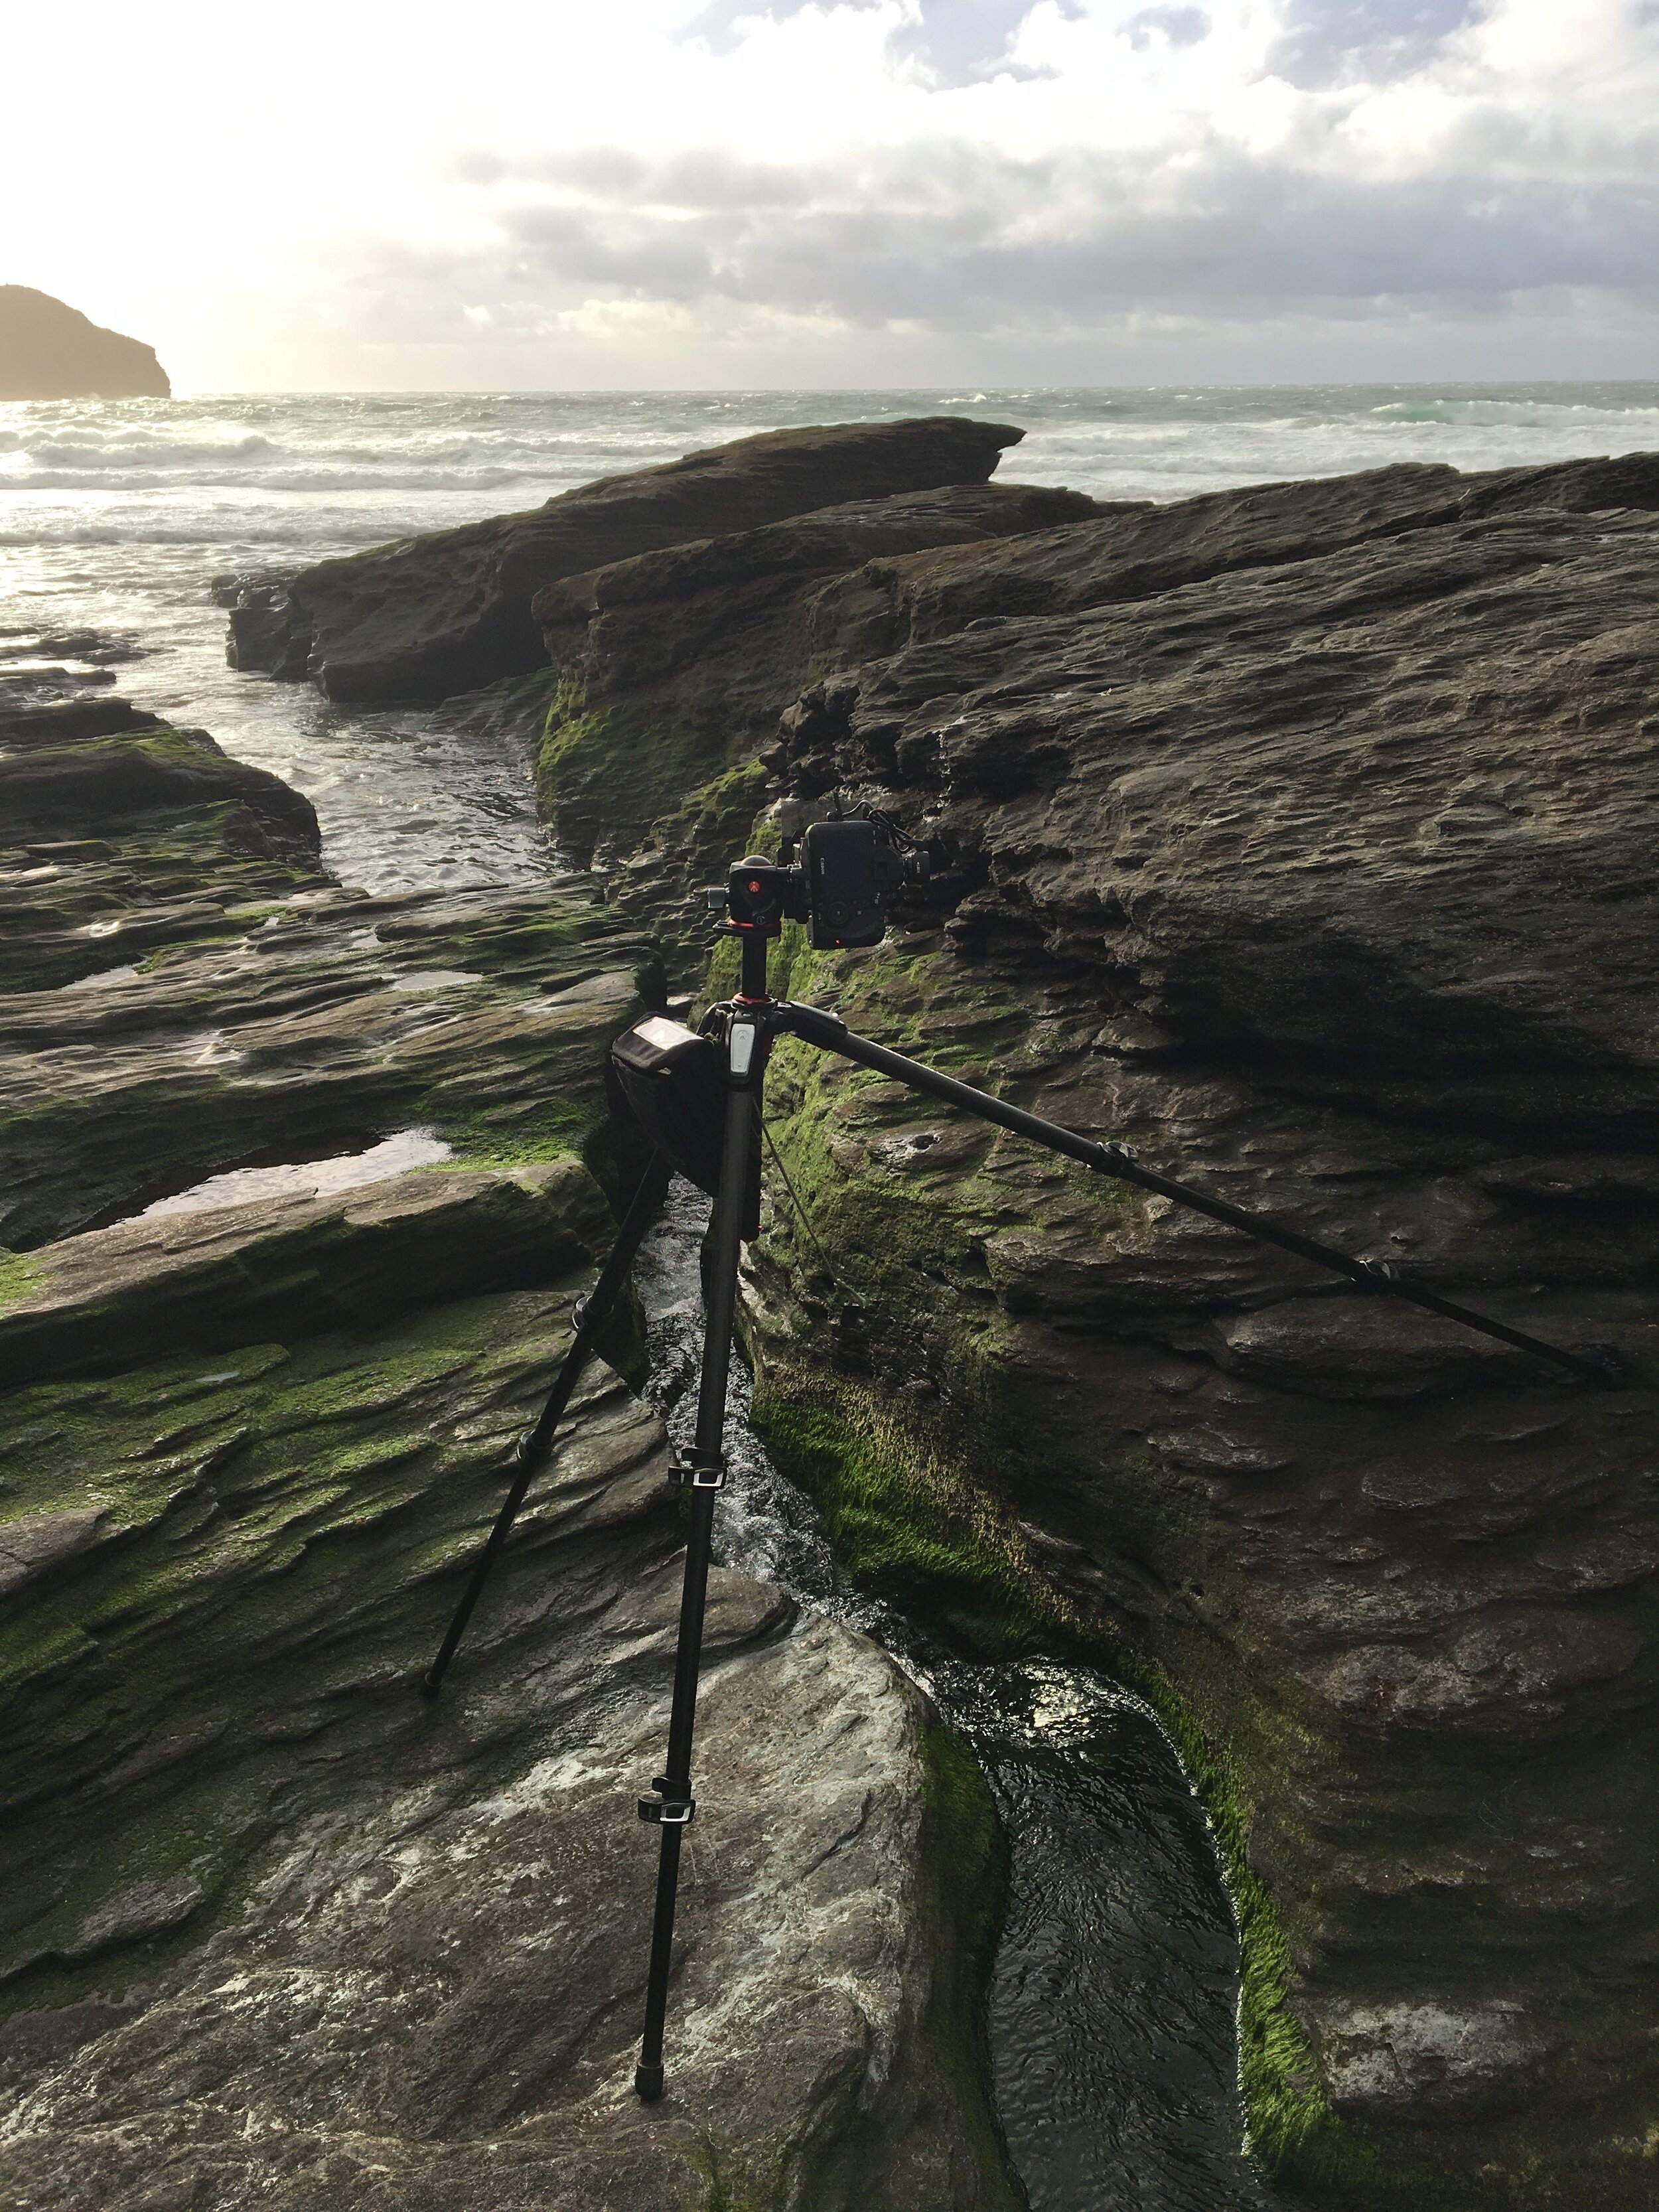
4. Get a good tripod.
A good tripod is absolutely essential to long exposure photography. Unfortunately (an not to sound snobbish) the Amazon basics tripods simply aren’t adequate most of the time. For a year or so I used a Manfrotto Element tripod (~£60), which was fine- but it’s major problem was the non-collapsible centre column, and relatively flimsy legs. It was sold as a lightweight travel tripod so I guess that figures.
Now, I use a Manfrotto 055 tripod, which is built like an absolute unit. There’s plenty of other tripods you can get, but the more sturdy tripod you get, the easier it will be to get long exposures in high wind. Especially when you have a long lens on, when any small shake is amplified in the final image.

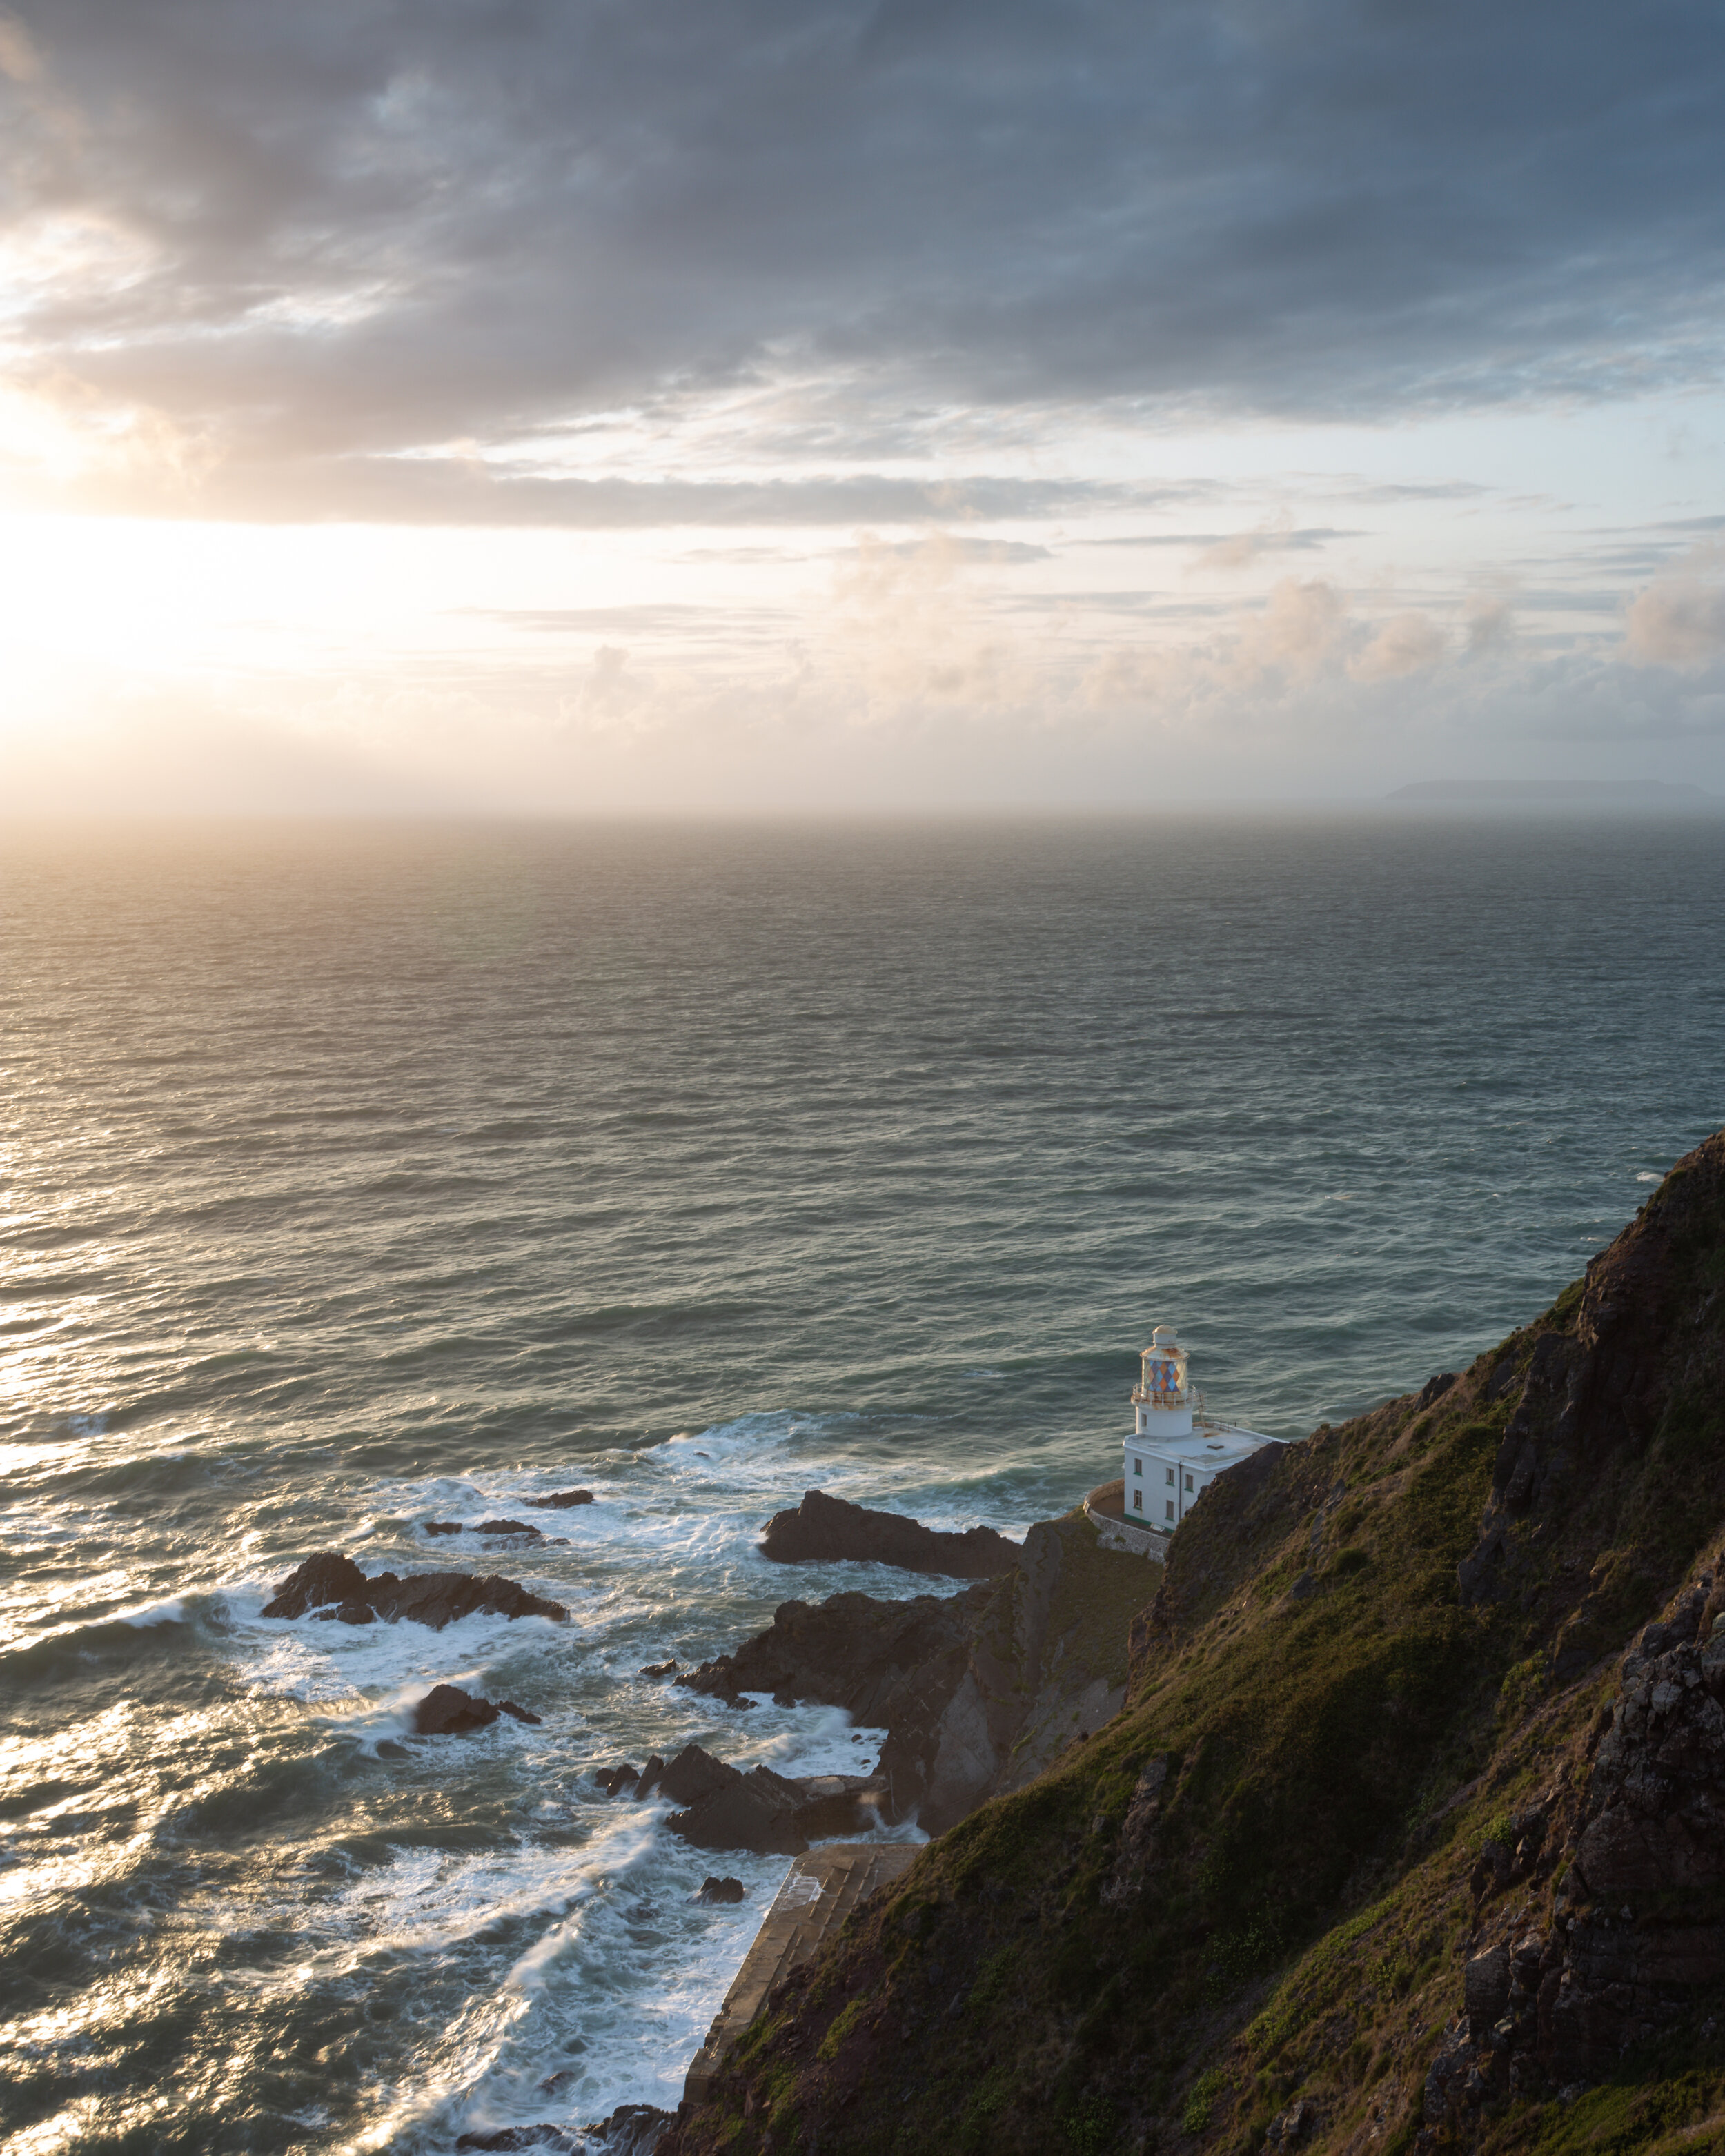
5. Choose the right filter.
10 stop filters are great fun. The maximum exposure time I’ve had with one was 15 minutes! Waiting for that length of time and not knowing what’ll be on the LCD screen after the wait is exciting, but they remove detail from anything that moves even slightly.
It can be more effective in certain compositions to use a lighter N.D. filter, such as 2 stops. It slows the shutter speed just enough to blur fast moving objects. In the above photo, you can see I’ve used that effect to make the waves streaky- and it conveys the power of the water over the rocks.
6. BONUS: Know when to stop.